RobotiMaker App — Documentation App RobotiMaker — Documentación
Everything the RobotiMaker dashboard and mobile app can do, and how they fit together with the bridges and robots you build. Whether you're flashing your first Pi, building a wheeled rover, or pointing a humanoid at a houseguest, the app is the control plane. Todo lo que pueden hacer el panel RobotiMaker y la app móvil, y cómo encajan con los bridges y robots que construyes. Ya sea que estés flasheando tu primera Pi, armando un rover con ruedas o apuntando un humanoide hacia un invitado, la app es el plano de control.
Getting startedPrimeros pasos
Create an account, sign in, learn the lay of the land. Everything in this guide assumes you've got an account at app.robotimaker.ai. Crea una cuenta, inicia sesión y conoce el terreno. Toda esta guía asume que tienes una cuenta en app.robotimaker.ai.
Sign upRegistro
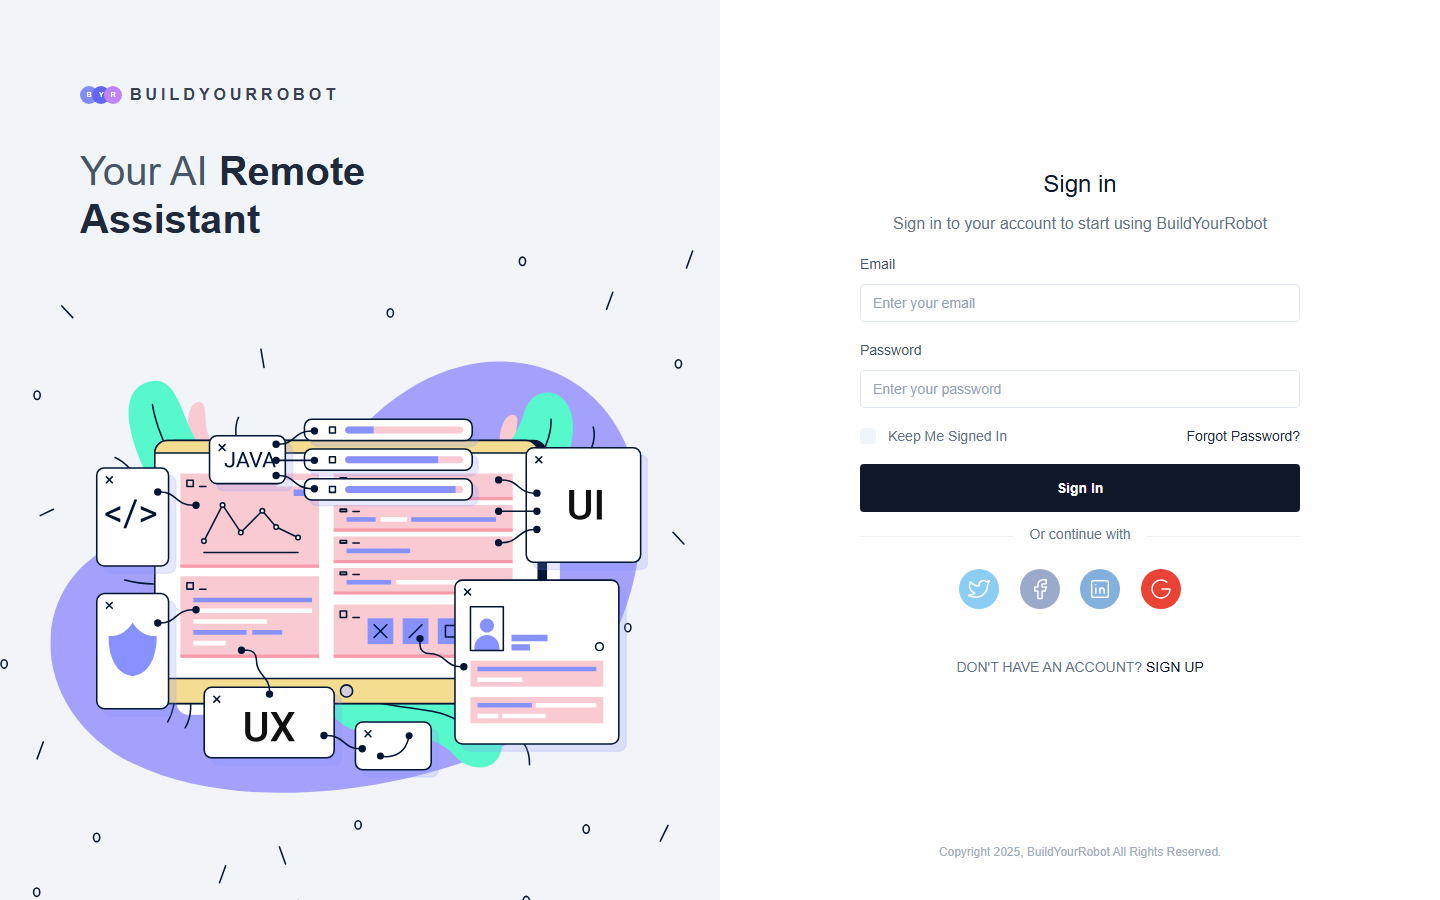
Open the app, tap Create account on the sign-in page, fill in your email and a password. You'll get a welcome email within a few seconds — confirm and you're signed in. Same account works for the dashboard and the mobile app; sign in once on each. Abre la app, toca Crear cuenta en la pantalla de inicio de sesión, completa tu correo y contraseña. Recibirás un correo de bienvenida en segundos — confírmalo y ya estás dentro. La misma cuenta funciona en el panel web y en la app móvil; inicia sesión una vez en cada uno.
Tour the dashboardRecorrido por el panel
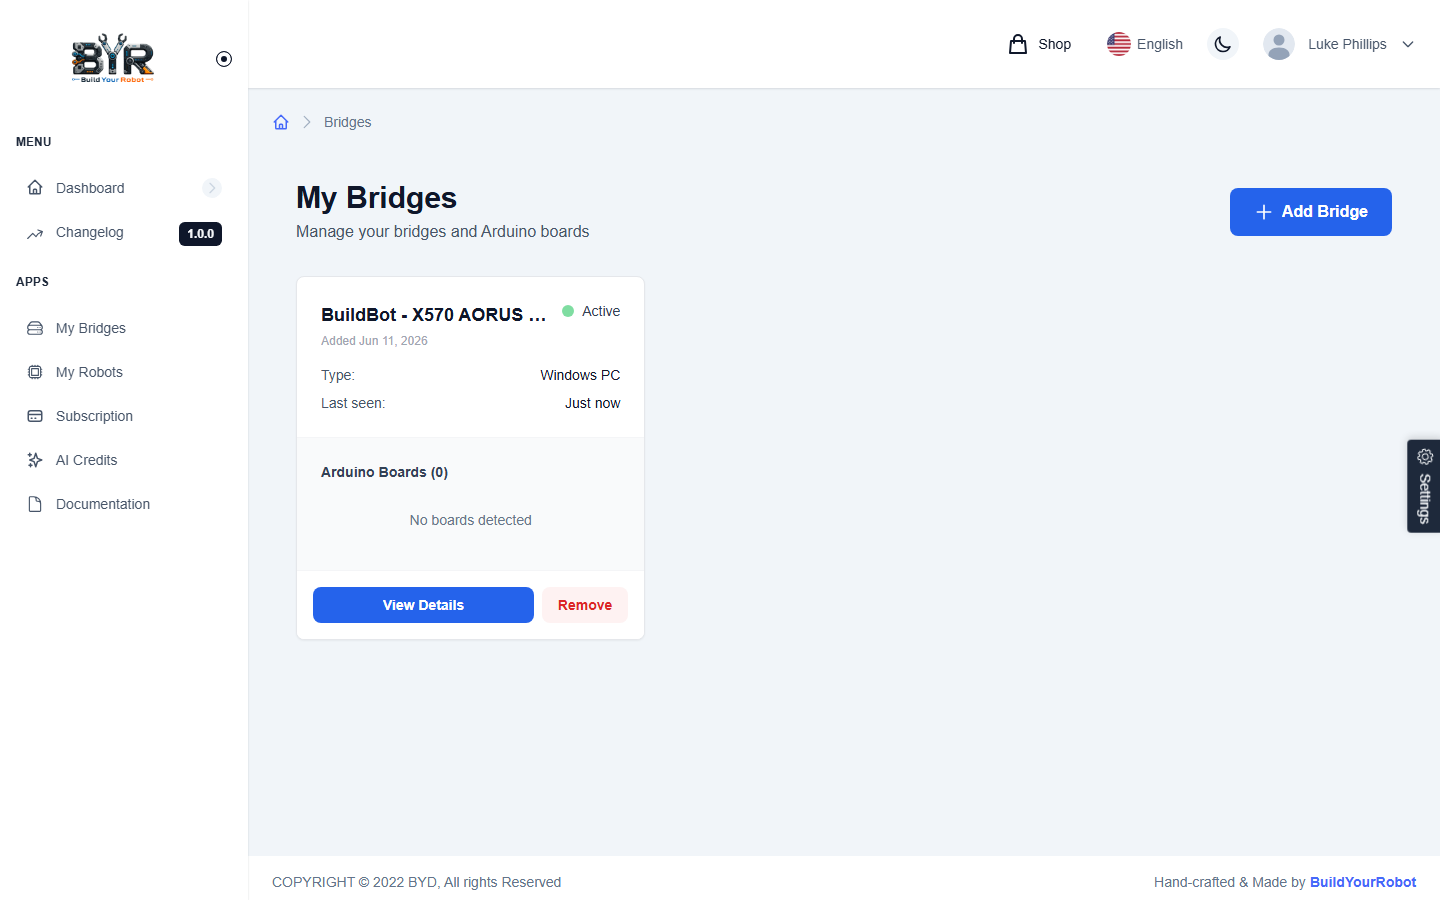
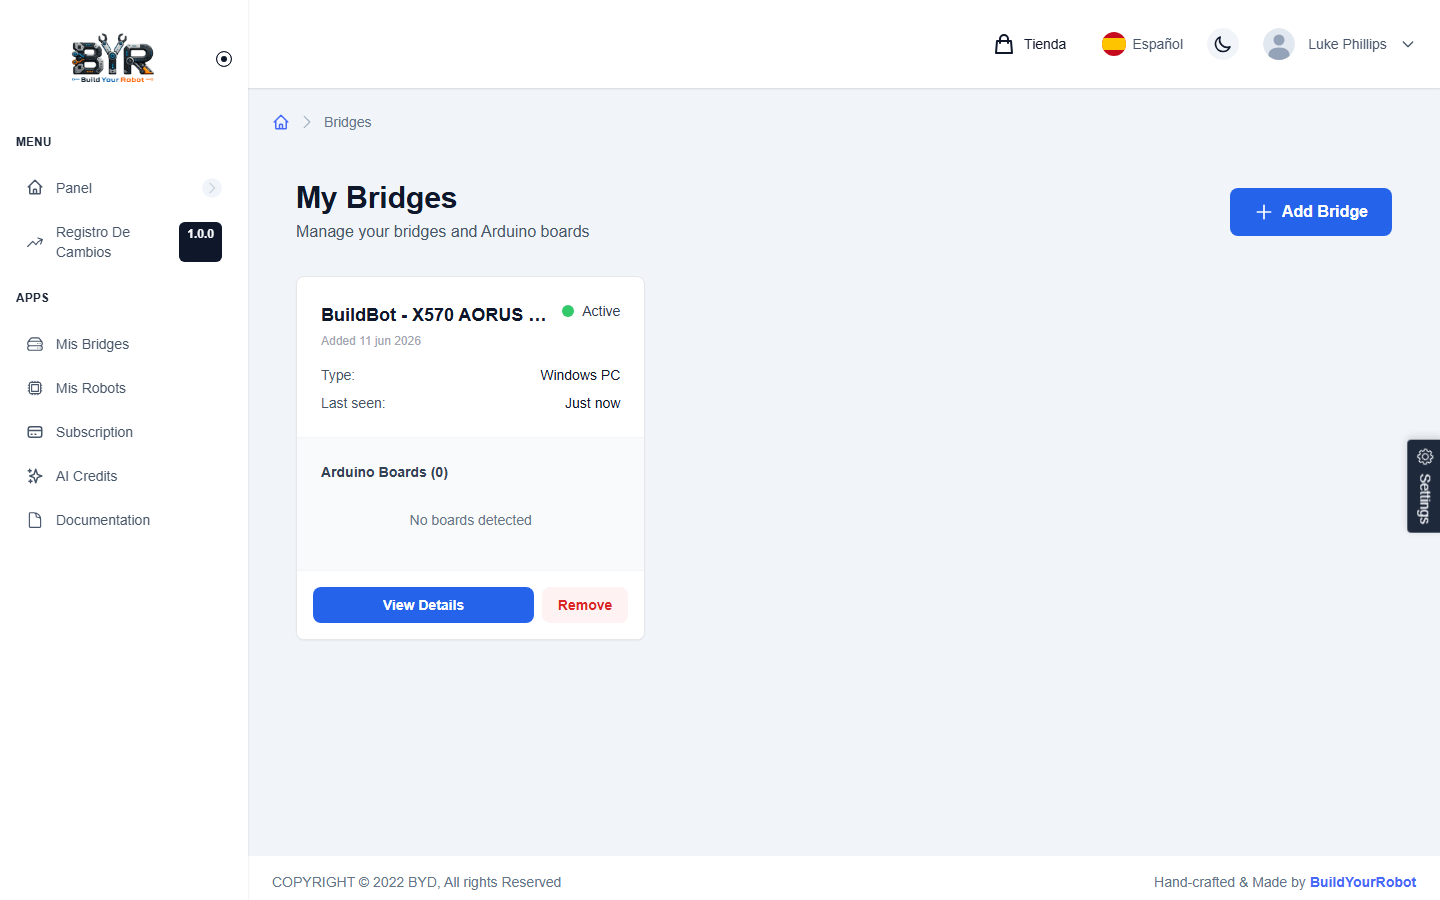
The sidebar groups everything into three working areas: Robots (the things you control), Bridges (the Pi devices that talk to them), and the lower utilities (Account, Subscription). Bridges run silently in the background — for most everyday driving you'll spend your time on the Robots screen. La barra lateral agrupa todo en tres zonas: Robots (lo que controlas), Bridges (las Pis que les hablan) y las utilidades inferiores (Cuenta, Suscripción). Los bridges trabajan en segundo plano — para conducir el día a día casi siempre estarás en la pantalla de Robots.
Mental model in one sentenceModelo mental en una frase
A bridge is a Raspberry Pi (or other small computer) you bring online once; a robot is a thing you create in the app and attach to a bridge. One bridge can host several robots. Un bridge es una Raspberry Pi (u otro mini ordenador) que pones en línea una vez; un robot es algo que creas en la app y asocias a un bridge. Un bridge puede alojar varios robots.
BridgesBridges
A bridge is the small computer (almost always a Raspberry Pi) that lives inside your robot. The bridge runs a tiny RobotiMaker daemon that connects out to our cloud over WebSocket; the app talks to your robot through that daemon. You add the bridge once and then forget it. Un bridge es el mini ordenador (casi siempre una Raspberry Pi) que vive dentro de tu robot. Corre un pequeño daemon RobotiMaker que se conecta a nuestra nube por WebSocket; la app habla con tu robot a través de ese daemon. Lo añades una vez y te olvidas.
Three ways to add a bridgeTres formas de añadir un bridge
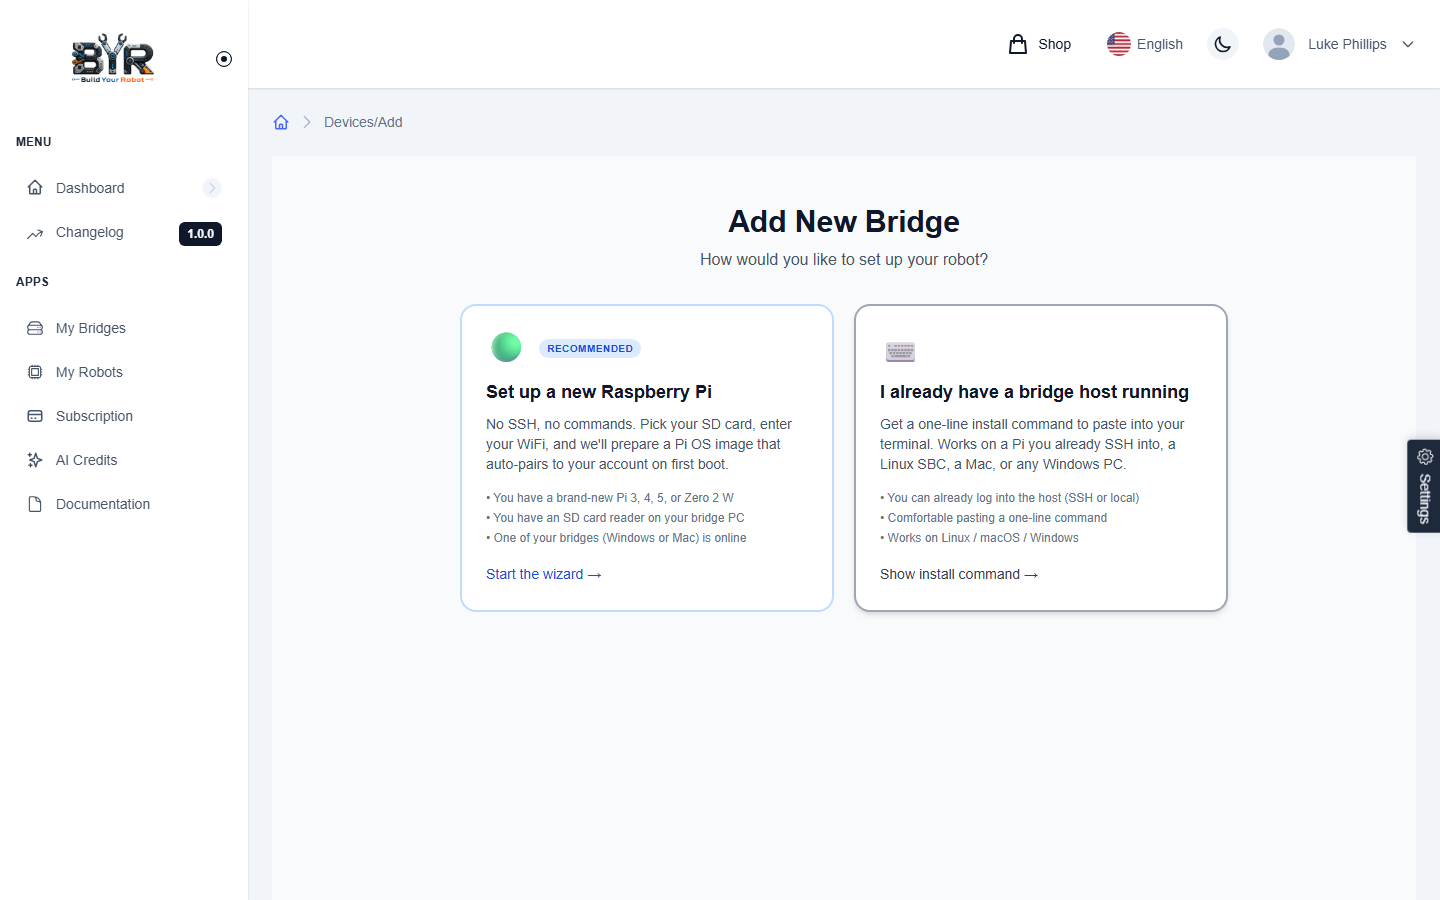
Each method gets the same end state — your Pi shows up as Online in the Bridges list — but they suit different starting points. Pick whichever matches what's already in front of you. Las tres llevan al mismo resultado — tu Pi aparece como Online en la lista de Bridges — pero sirven distintos puntos de partida. Elige la que mejor encaje con lo que ya tienes a mano.
Method 1 — SD-flash wizard (dashboard)Método 1 — asistente de flasheo SD (panel web)
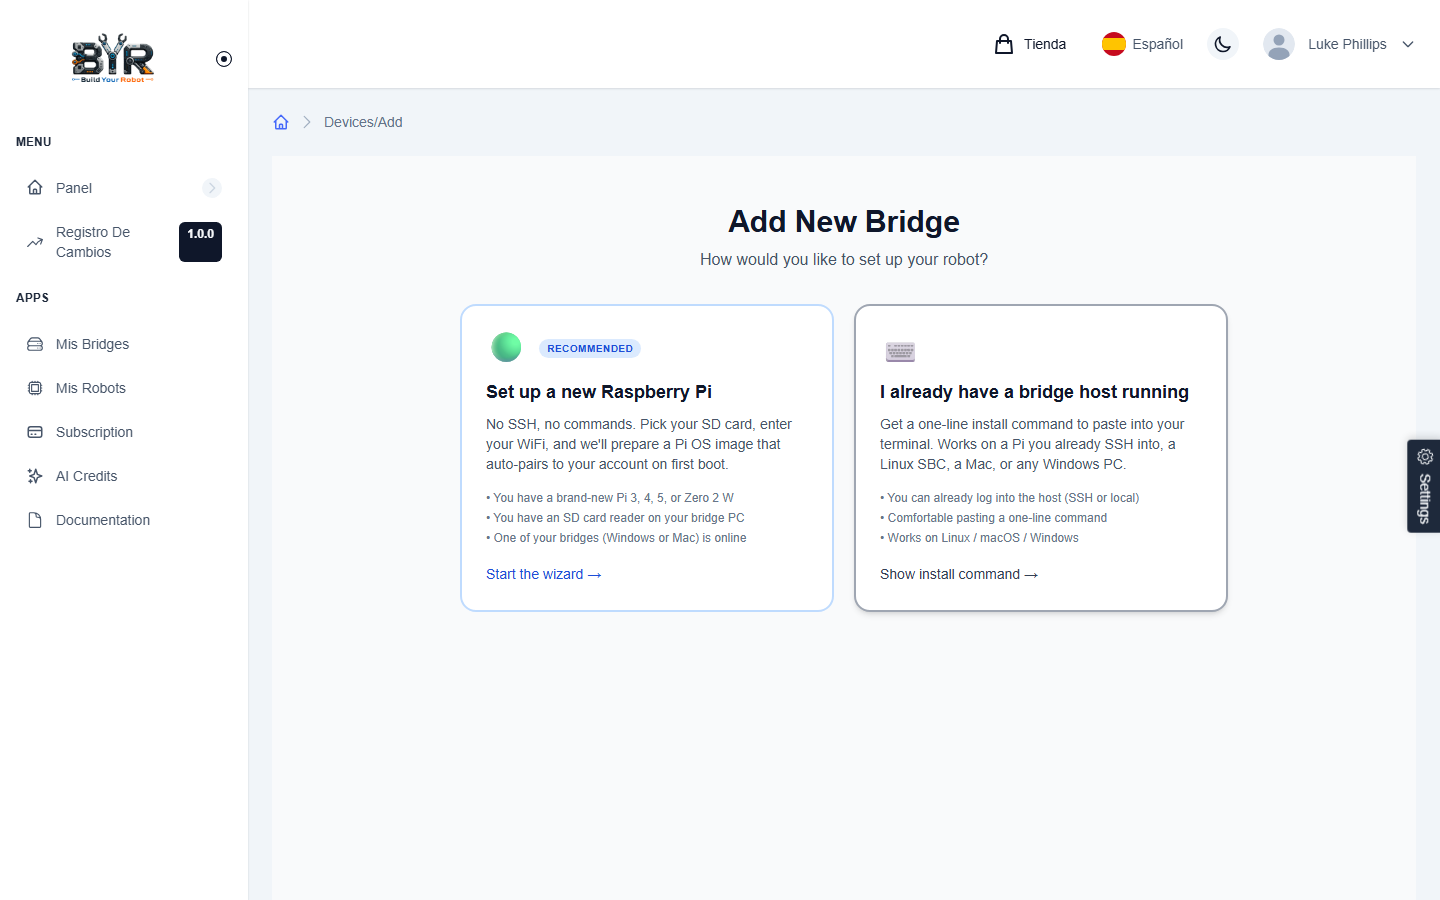
Best when you have a fresh Pi and an SD card in front of you. Dashboard → Bridges → Add bridge → Flash SD card. The wizard walks you through: pick the target SD, enter your WiFi (SSID + password), choose a hostname, pick "configure now" (your WiFi creds are baked in) or "pair later via Bluetooth" (no WiFi yet — you'll provision from the mobile app). Click Flash, wait two to five minutes, eject, insert into the Pi, power on. The Pi joins WiFi on first boot, registers itself, and shows up as Online a minute later. Es la opción ideal cuando tienes una Pi nueva y una tarjeta SD delante. Panel web → Bridges → Añadir bridge → Flashear SD. El asistente te guía: elige la SD destino, mete tu WiFi (SSID + contraseña), pon un nombre de host, decide entre "configurar ahora" (con WiFi grabado) o "emparejar luego por Bluetooth" (sin WiFi aún — lo aprovisionas desde la app móvil). Pulsa Flashear, espera dos a cinco minutos, expulsa la SD, métela en la Pi y enciéndela. La Pi se une al WiFi al primer arranque, se registra sola y aparece como Online al minuto.
Method 2 — manual install over SSHMétodo 2 — instalación manual por SSH
Best when the Pi already has an OS and a network connection — for example a Pi you've been using for something else. SSH into it and run our one-liner: Útil cuando la Pi ya tiene SO y red — por ejemplo una Pi que ya usabas para otra cosa. Conéctate por SSH y ejecuta nuestro one-liner:
curl -fsSL https://app.robotimaker.ai/downloads/install.sh | sudo bash
The installer detects the architecture (armv6/armv7/arm64), downloads the matching bridge binary, drops a systemd unit, and starts it. Once it phones in, the Pi shows in your Bridges list. From there, head to Bridges → that bridge → Settings and copy the pair code into the dashboard to attach it to your account. El instalador detecta la arquitectura (armv6/armv7/arm64), descarga el binario correspondiente, instala un unit de systemd y lo arranca. En cuanto se reporta, la Pi aparece en tu lista de Bridges. Desde ahí, ve a Bridges → ese bridge → Configuración y copia el código de emparejamiento al panel para asociarlo a tu cuenta.
Method 3 — BLE pair from the mobile appMétodo 3 — emparejamiento BLE desde la app móvil
Best when the Pi is assembled inside a kit and you don't want to touch the SD card. Pre-flashed RobotiMaker kits ship with the bridge already installed and advertising Bluetooth Low Energy on first boot. In the mobile app, tap Bridges → + Add bridge → Pair a new robot; the phone scans, finds BYR-XXXXXX, you tap it, pick a WiFi network, type the password, hit Apply WiFi. The Pi joins WiFi over BLE and shows up as Online in the dashboard a few seconds later.
Útil cuando la Pi ya está montada dentro del kit y no quieres tocar la SD. Los kits RobotiMaker preflasheados ya traen el bridge instalado y anunciándose por Bluetooth Low Energy en el primer arranque. En la app móvil, toca Bridges → + Añadir bridge → Emparejar un robot nuevo; el teléfono escanea, encuentra BYR-XXXXXX, lo tocas, eliges tu red WiFi, escribes la contraseña y pulsas Aplicar WiFi. La Pi se une a la red por BLE y aparece como Online en el panel unos segundos después.
Managing a bridgeGestionar un bridge
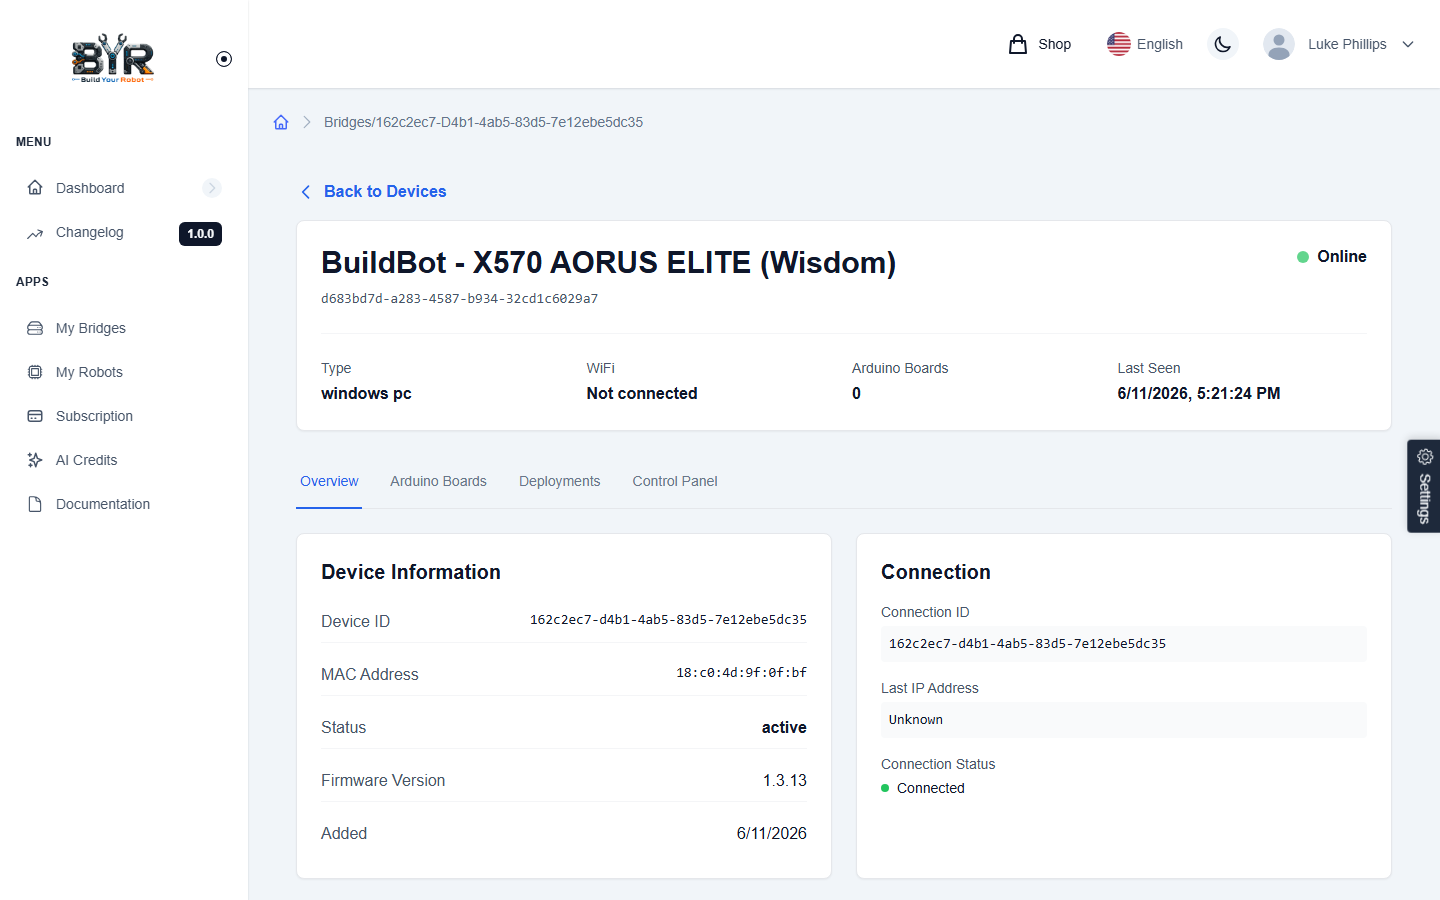
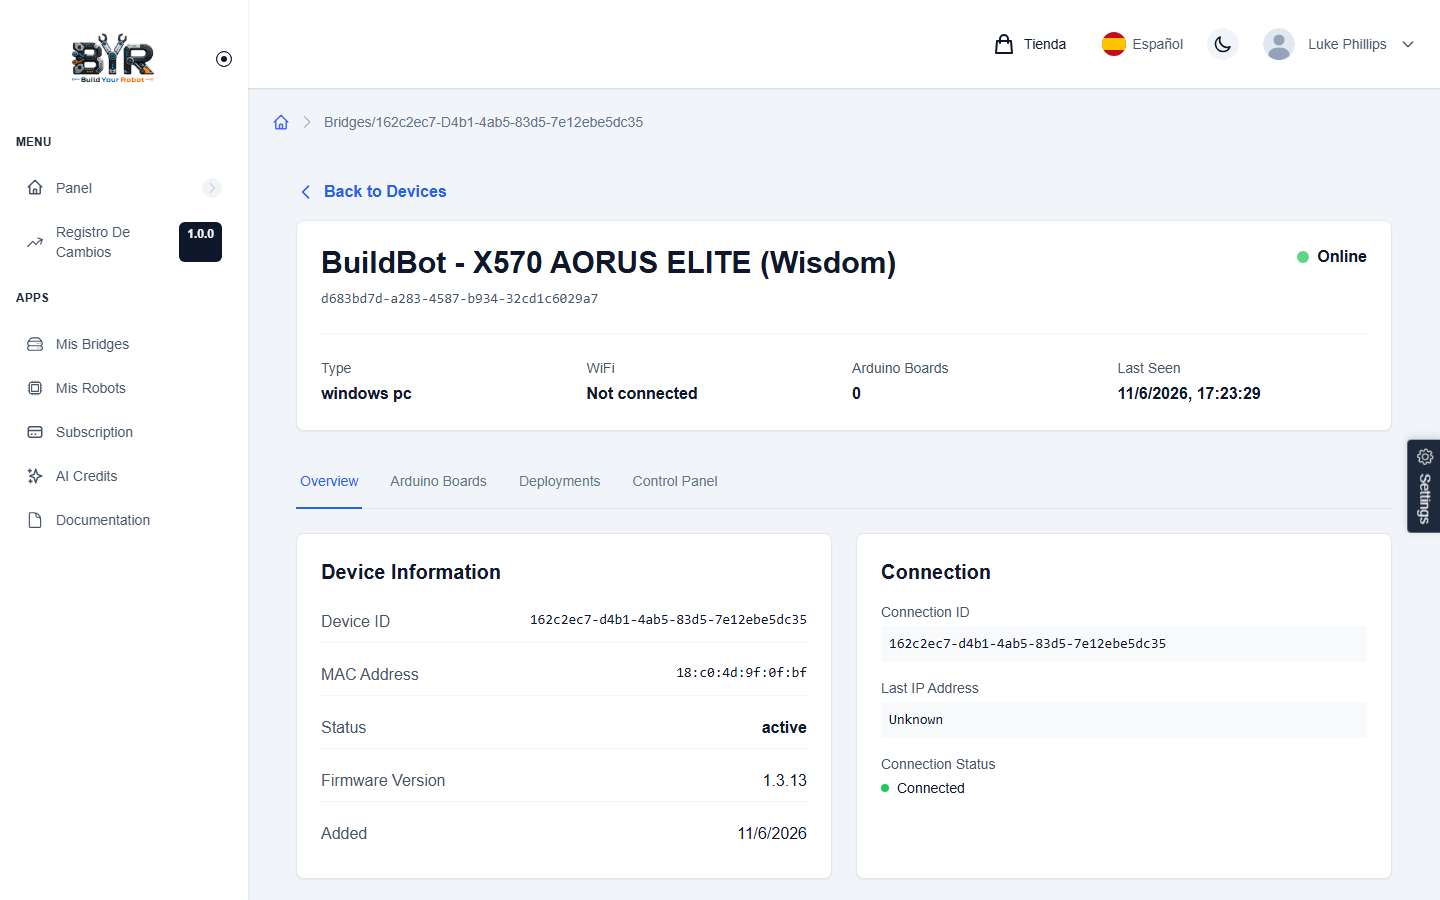
Tap any bridge to open its detail page. You can rename it, see the WiFi network it's currently on, toggle Bluetooth always on (handy if you move the robot to a new place and need to reconfigure WiFi without an SD trip), trigger a reboot, or delete it. Deleting a bridge revokes its credentials immediately — the Pi loses its connection but its disk contents are untouched. Toca cualquier bridge para abrir su detalle. Puedes renombrarlo, ver el WiFi al que está conectado, alternar Bluetooth siempre activo (útil si mueves el robot de sitio y necesitas reconfigurar WiFi sin sacar la SD), forzar un reinicio o eliminarlo. Borrar un bridge revoca sus credenciales al instante — la Pi pierde la conexión pero su disco queda intacto.
Change WiFi without re-flashingCambiar WiFi sin reflashear
If you move a robot to a new location, the mobile app's Add bridge → Change WiFi flow lets you scan for the BLE-advertising bridge, pick a new SSID, and apply the WiFi over Bluetooth. No SD card, no SSH — it's the fastest way to relocate a built robot. Si llevas el robot a otro sitio, el flujo Añadir bridge → Cambiar WiFi de la app móvil permite escanear el bridge que anuncia BLE, elegir un nuevo SSID y aplicar el WiFi por Bluetooth. Sin SD, sin SSH — es la forma más rápida de mudar un robot ya armado.
RobotsRobots
A robot is what you actually control — a rover, a humanoid, an arm. Each robot lives on a bridge but is its own record in the app: its own name, its own template, its own control interface. Un robot es lo que realmente controlas — un rover, un humanoide, un brazo. Cada robot vive en un bridge pero es su propio registro en la app: nombre propio, plantilla propia, interfaz de control propia.
The create-robot wizardEl asistente de creación
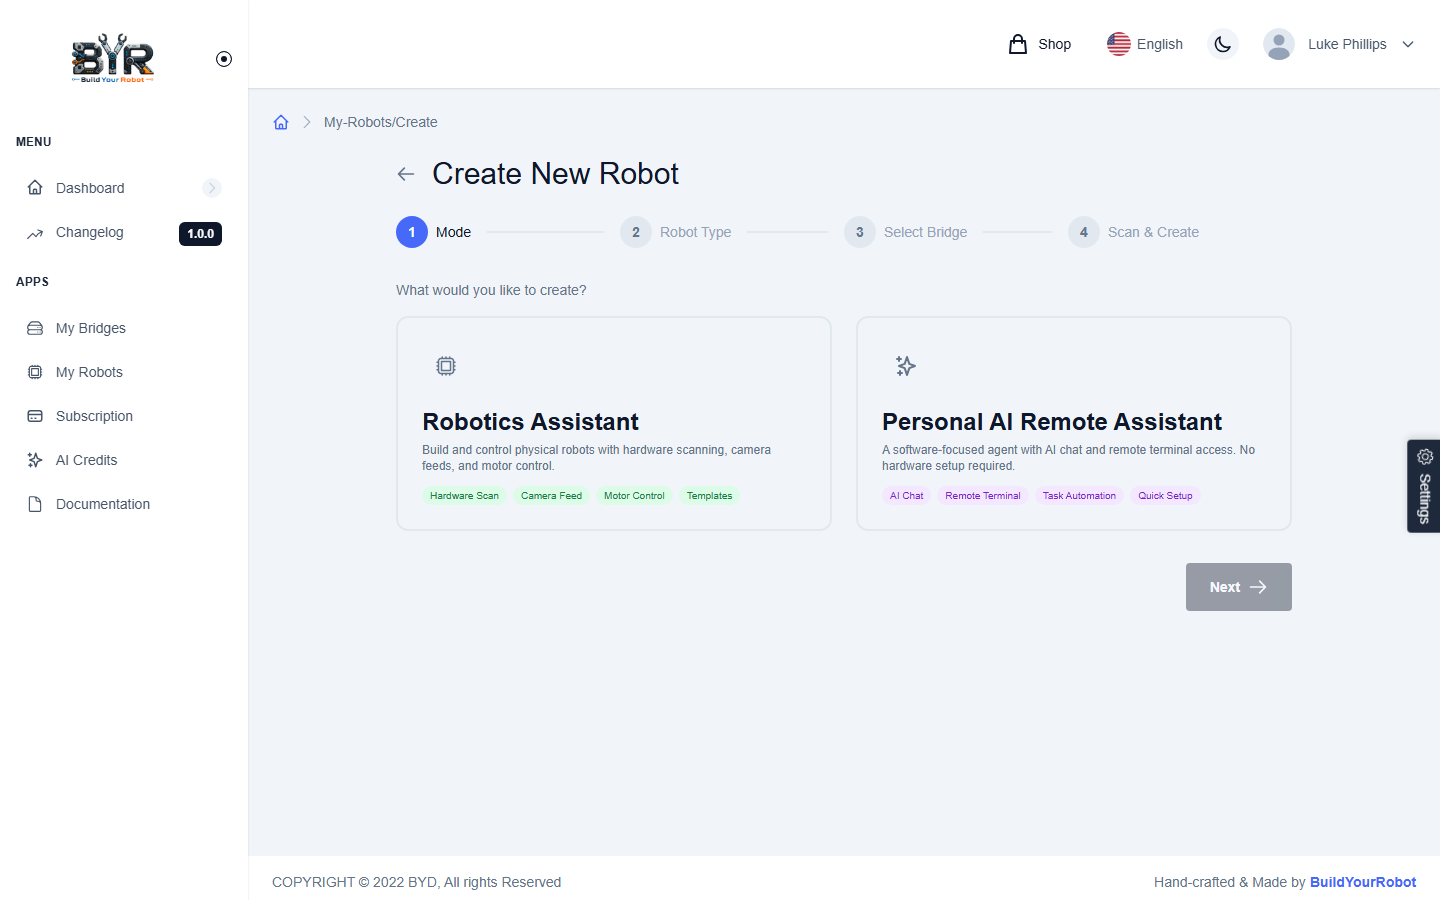
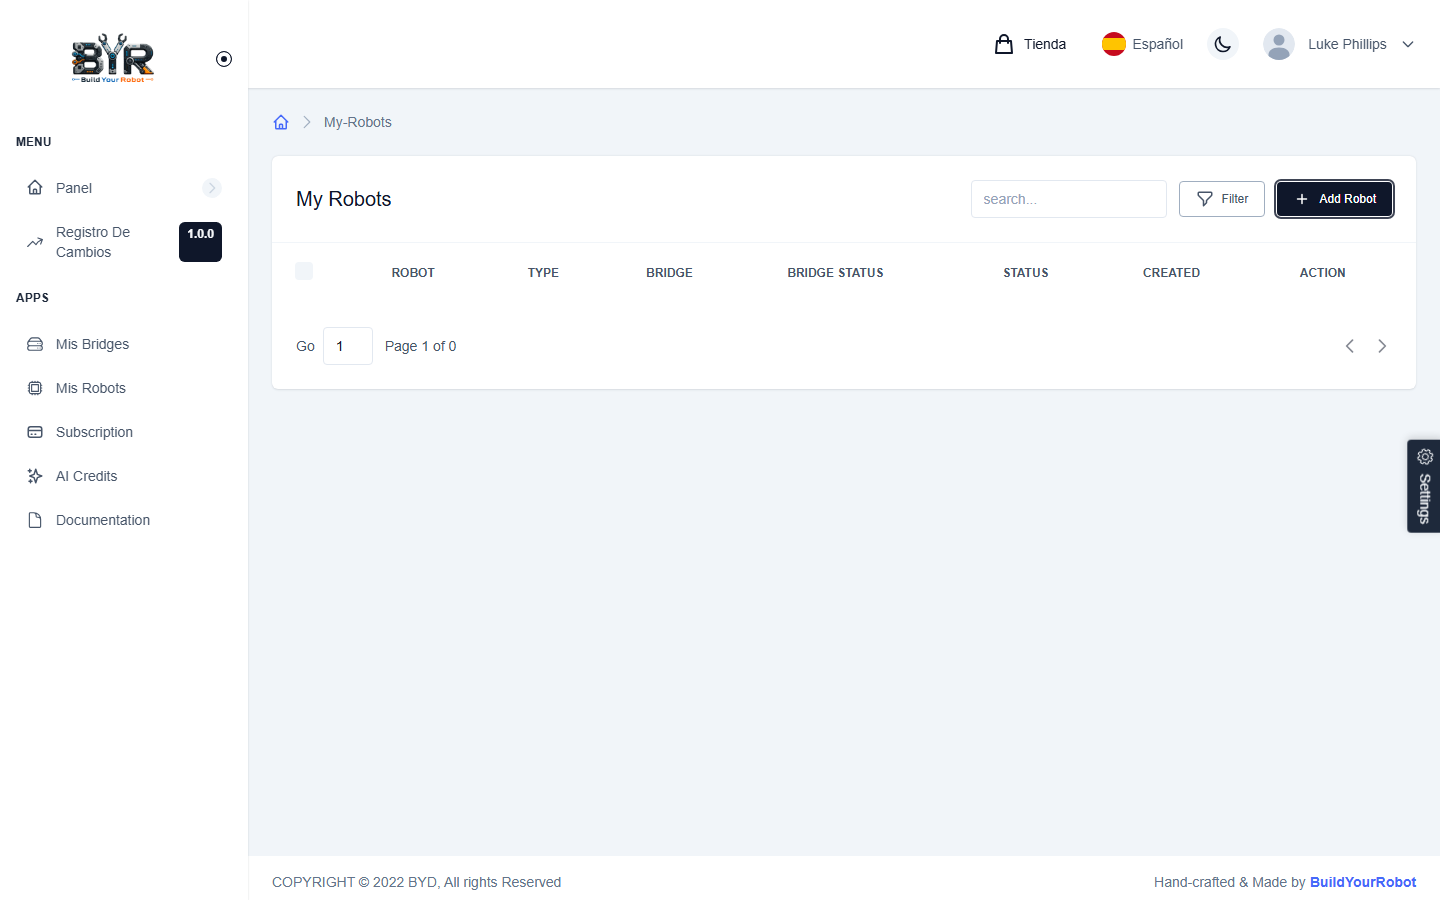
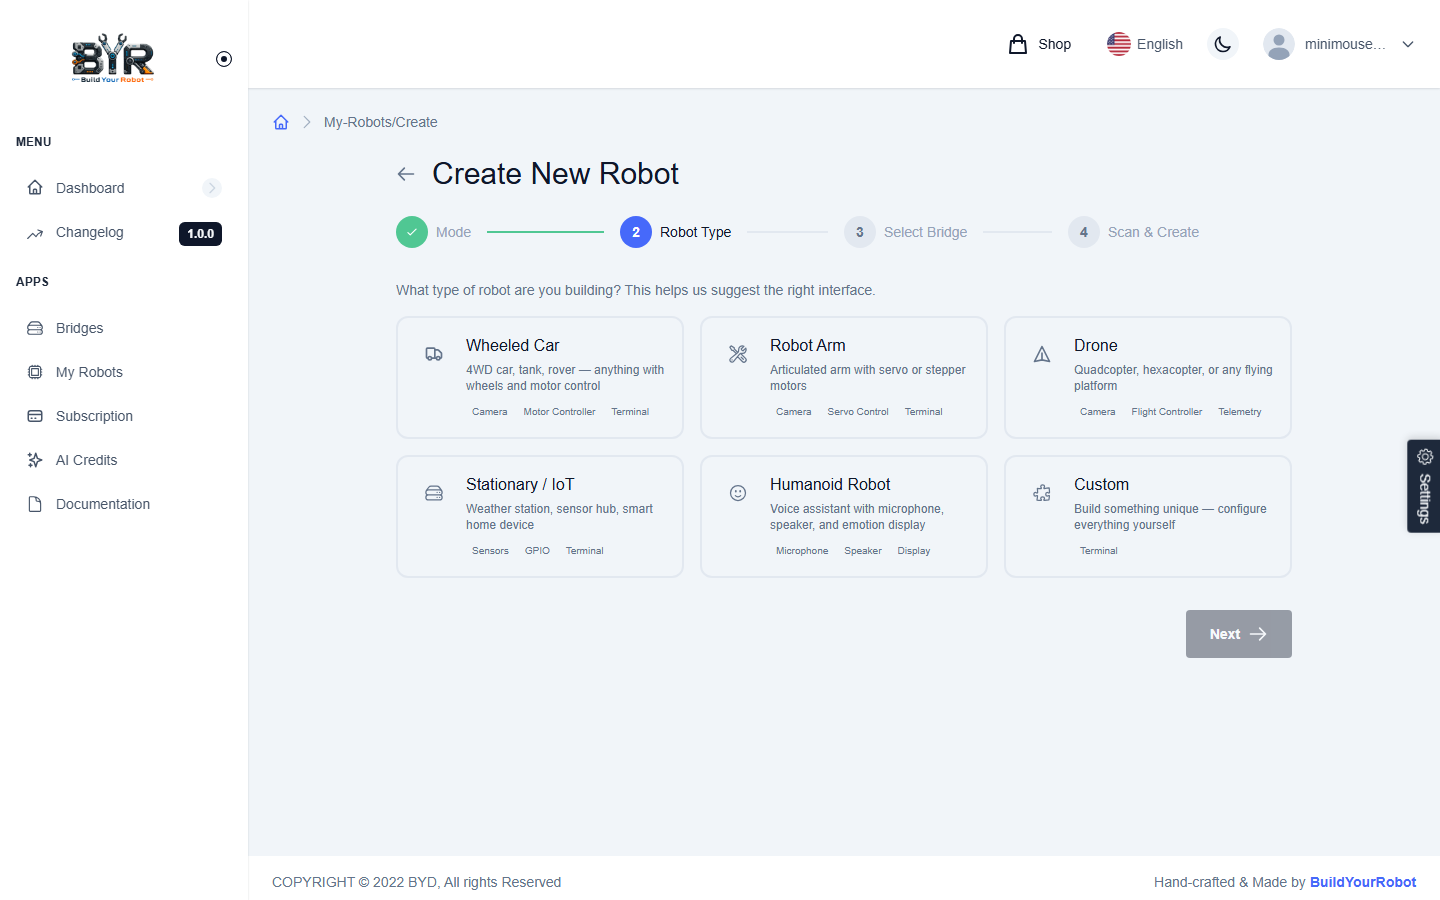
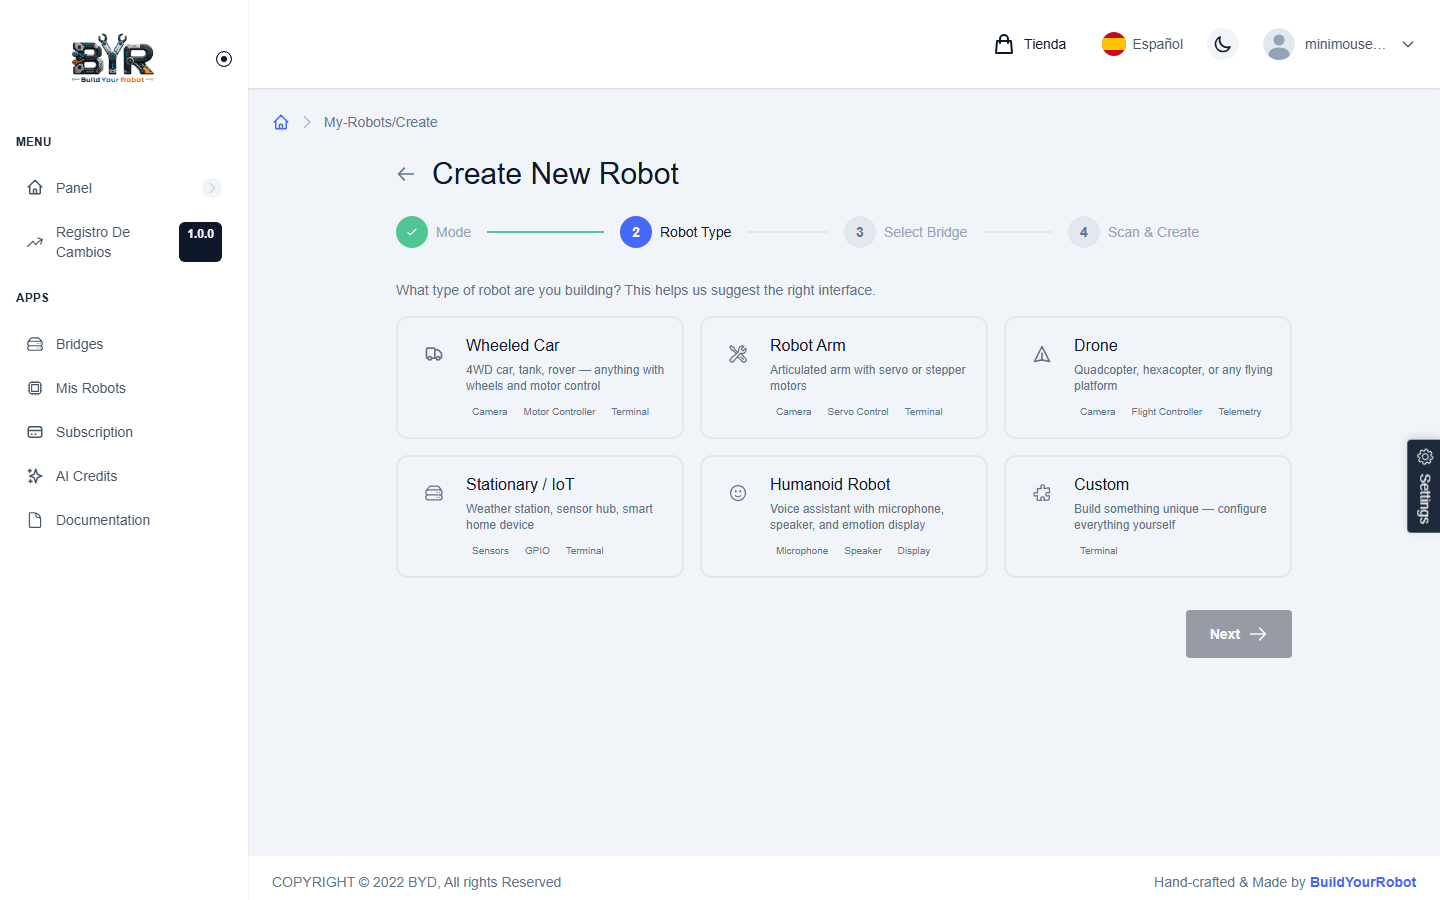
Dashboard → Robots → + Add robot opens a four-step wizard: Panel → Robots → + Añadir robot abre un asistente de cuatro pasos:
- ModeModo — pick Robotics (physical robot with hardware) or Personal AI Assistant (software-only agent on a Pi). Most users want Robotics. elige Robotics (robot físico con hardware) o Asistente IA Personal (agente sólo de software en una Pi). La mayoría quiere Robotics.
- TypeTipo — Wheeled Car, Robot Arm, Drone, Stationary, Humanoid, or Custom. Each comes with a starter interface template (joystick, sliders, video tile, etc.) that you can edit later. Coche con ruedas, Brazo, Dron, Estacionario, Humanoide o Personalizado. Cada uno trae una plantilla inicial de interfaz (joystick, sliders, video, etc.) que luego puedes editar.
- BridgeBridge — pick which bridge this robot lives on. Only Online bridges are selectable. elige sobre qué bridge vivirá este robot. Sólo los bridges Online son seleccionables.
- Name & createNombre y creación — give it a friendly name ("Garage Rover", "Bumper"), confirm. The app creates the robot record and seeds the interface template. ponle un nombre amigable ("Rover de Garaje", "Bumper") y confirma. La app crea el registro del robot y siembra la plantilla.
The robot detail pageLa página de detalle del robot
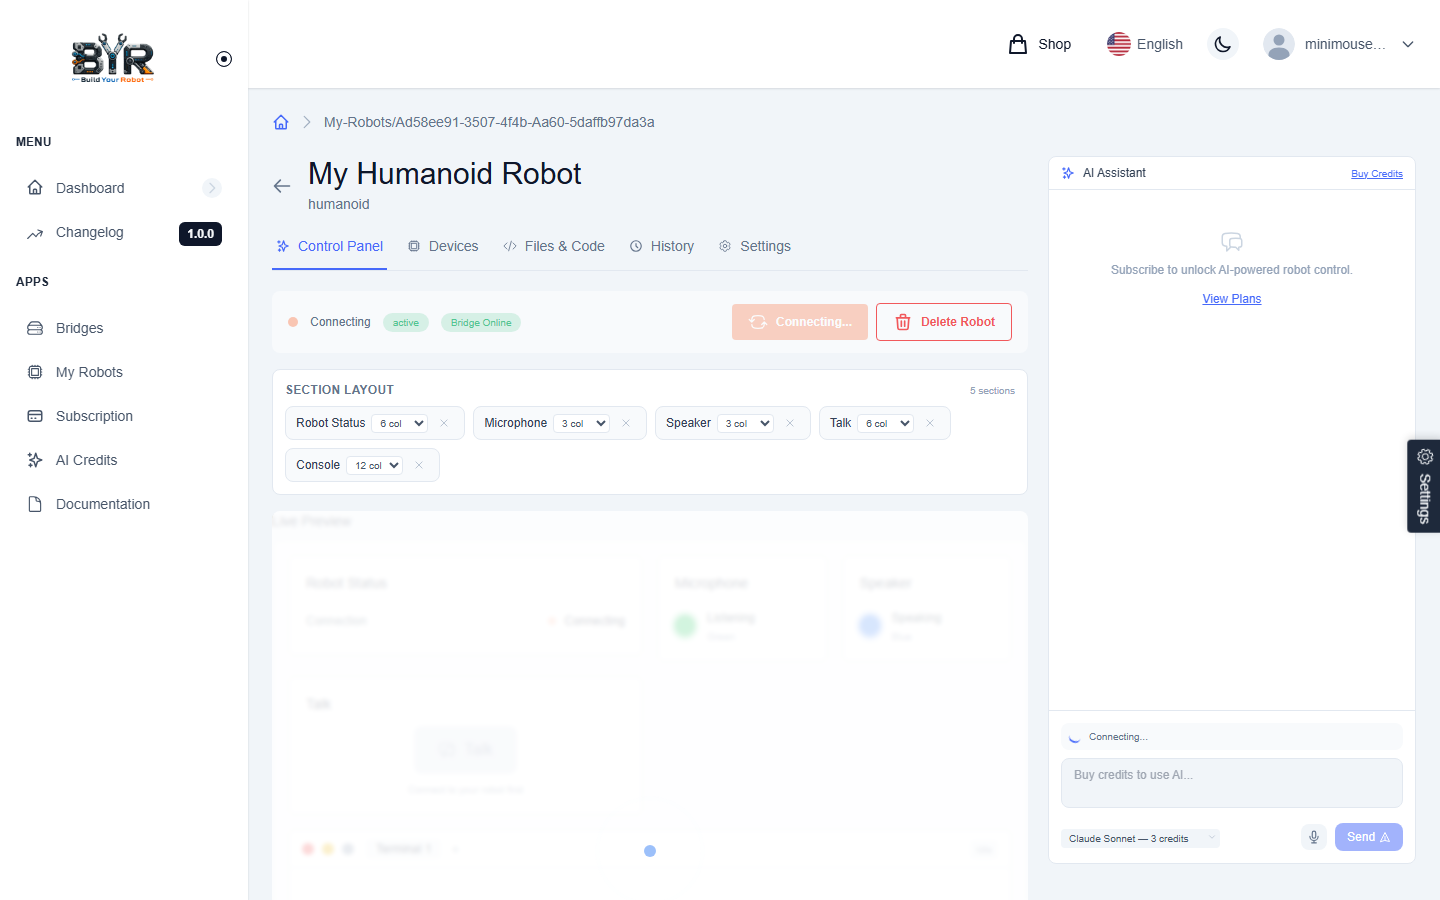
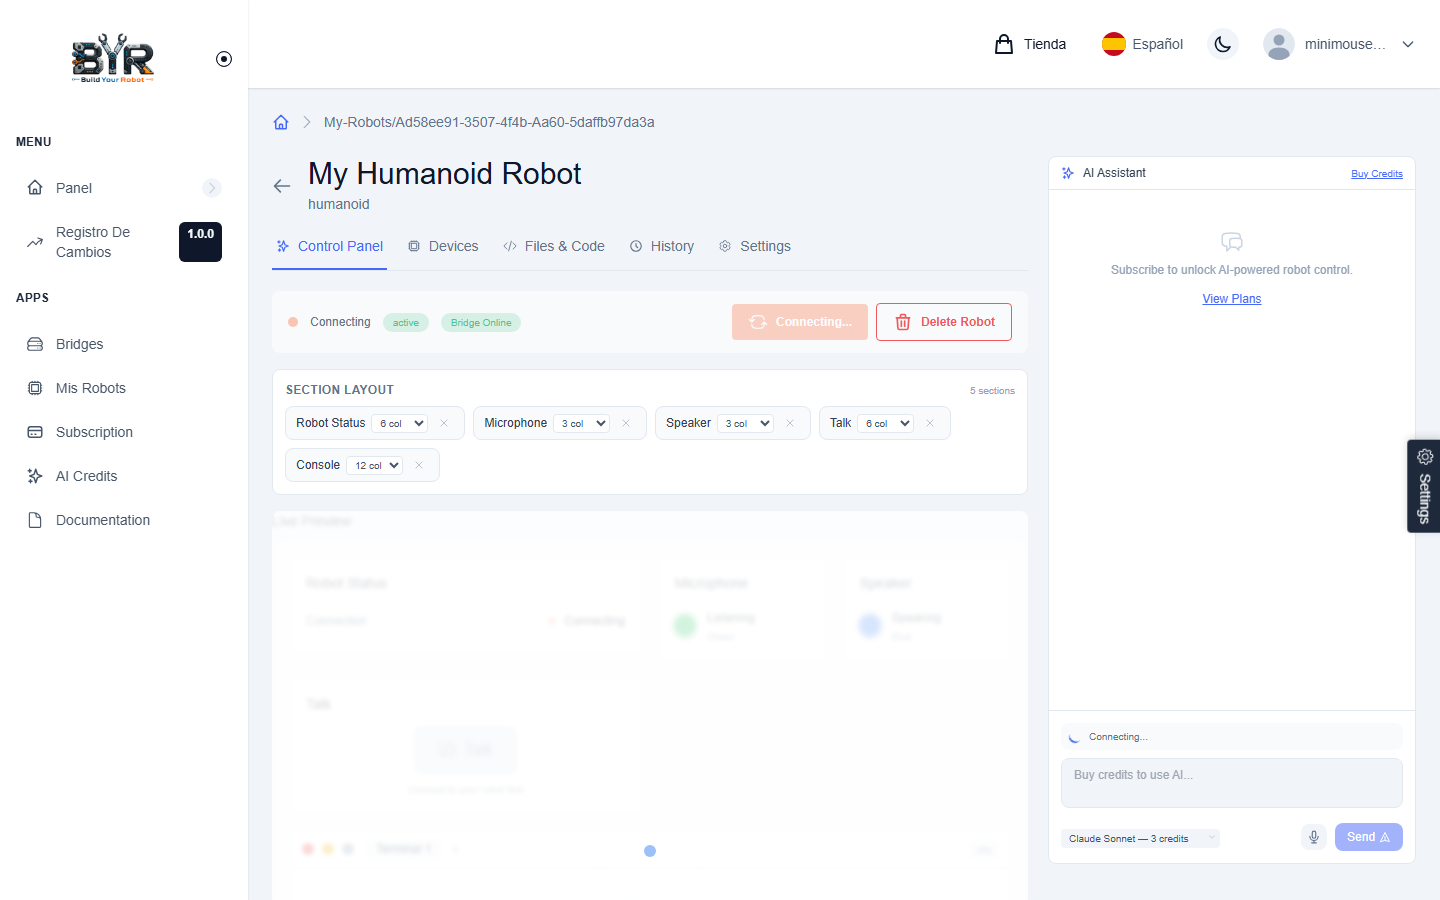
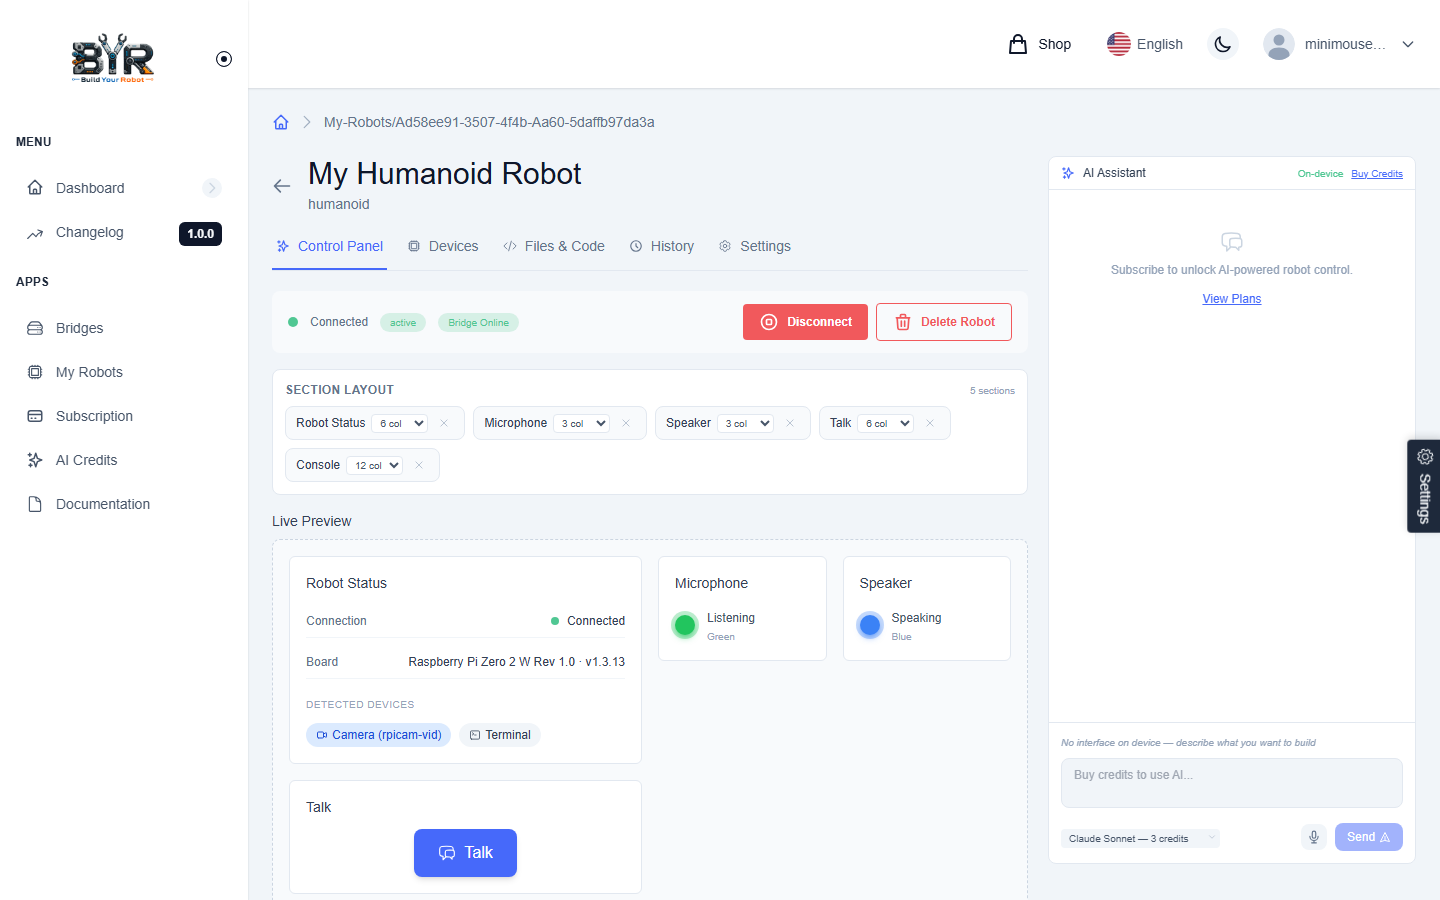
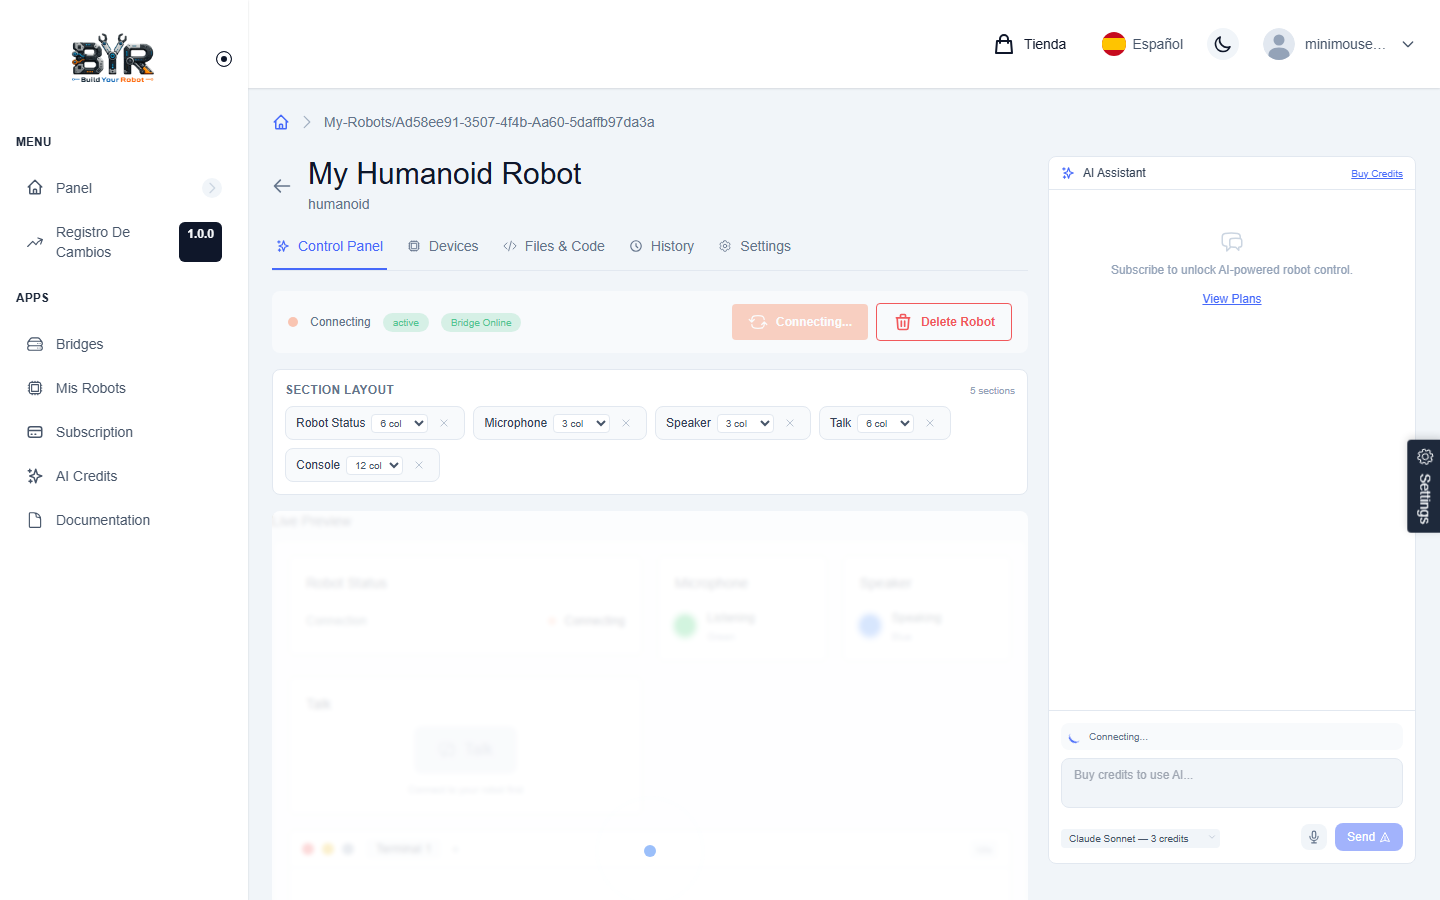
Tap any robot to open its control panel. You'll see a live video tile (if the robot has a camera), the joystick or sliders from the template, a terminal pane for direct shell access, an AI workspace for ad-hoc commands, and a deploy panel for shipping code to the Pi. Layout is editable — drag widgets around, add new ones, save the layout per-robot. Toca cualquier robot para abrir su panel de control. Verás una vista de video en vivo (si el robot tiene cámara), el joystick o sliders de la plantilla, un panel de terminal para acceder al shell directo, un workspace de IA para comandos sobre la marcha y un panel de despliegue para enviar código a la Pi. El layout es editable — arrastra widgets, añade nuevos, guarda por robot.
Robot types & subtypesTipos y subtipos de robot
Some types have subtypes — pick the closest match. Humanoid splits into Talker (voice-only) and Walker (bipedal). Wheeled Car splits into Compact Pro, Mid Haul, Max Haul (each is a different chassis size). The subtype controls which starter template gets seeded. Algunos tipos tienen subtipos — elige el más cercano. Humanoide se divide en Talker (sólo voz) y Walker (bípedo). Coche con ruedas se divide en Compact Pro, Mid Haul, Max Haul (cada uno es un chasis distinto). El subtipo decide qué plantilla se siembra.
Files — full OS access, in the browserArchivos — acceso al sistema operativo desde el navegador
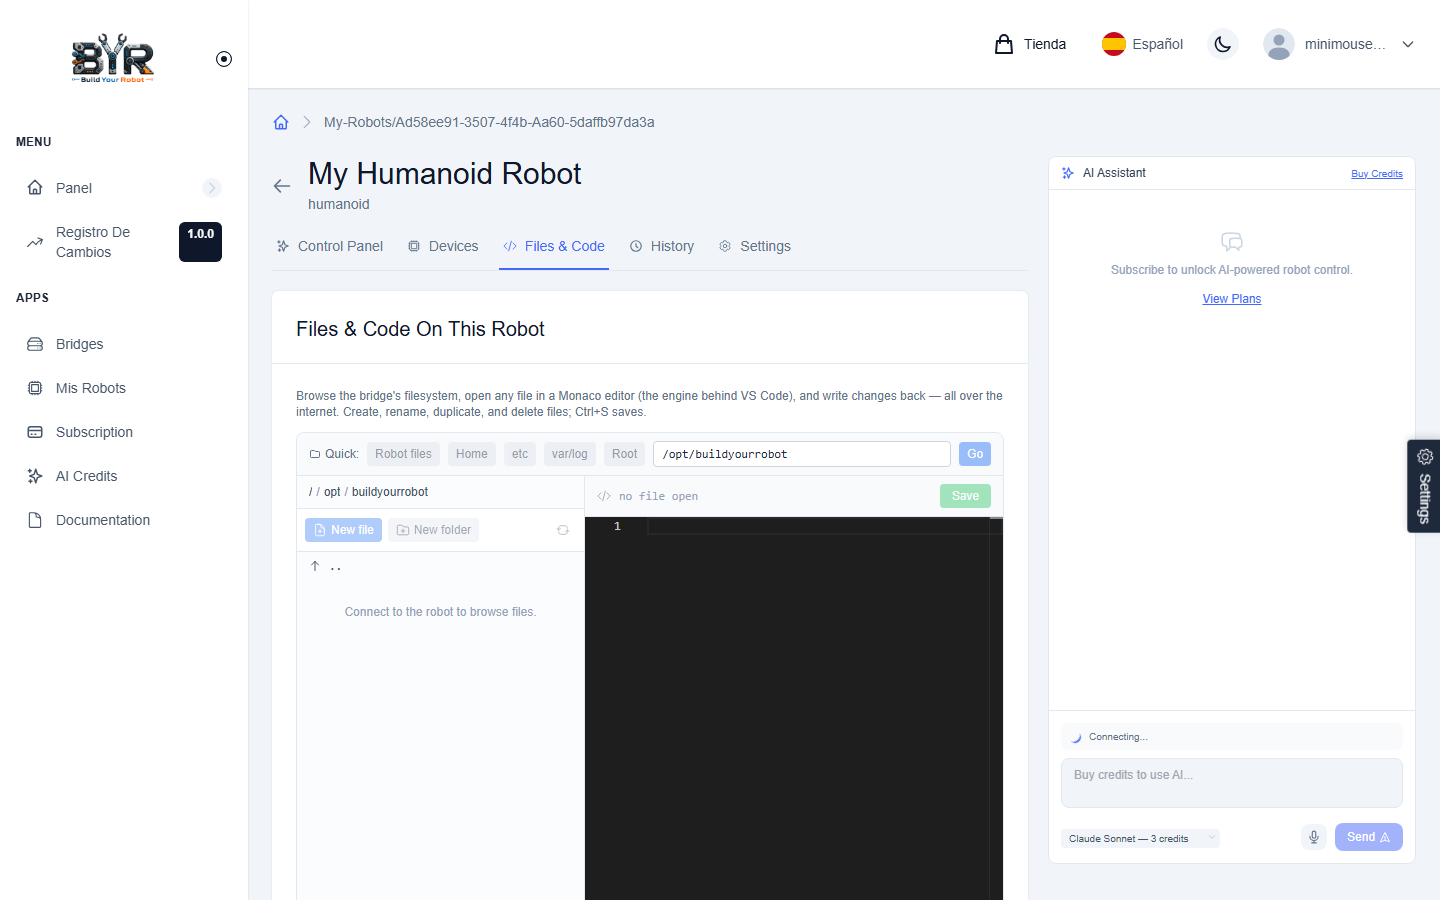
Inside the robot's detail page there's a Files tab. It gives you a tree view of the bridge's filesystem — anywhere from /home/pi to /etc to / — and a Monaco editor (the same engine VS Code uses) for opening, editing, and saving any file, with syntax highlighting auto-picked from the extension.
Dentro de la página del robot hay una pestaña Archivos. Te da una vista en árbol del sistema de archivos del bridge — desde /home/pi hasta /etc o / — y un editor Monaco (el mismo motor que usa VS Code) para abrir, editar y guardar cualquier archivo, con resaltado de sintaxis detectado automáticamente por la extensión.
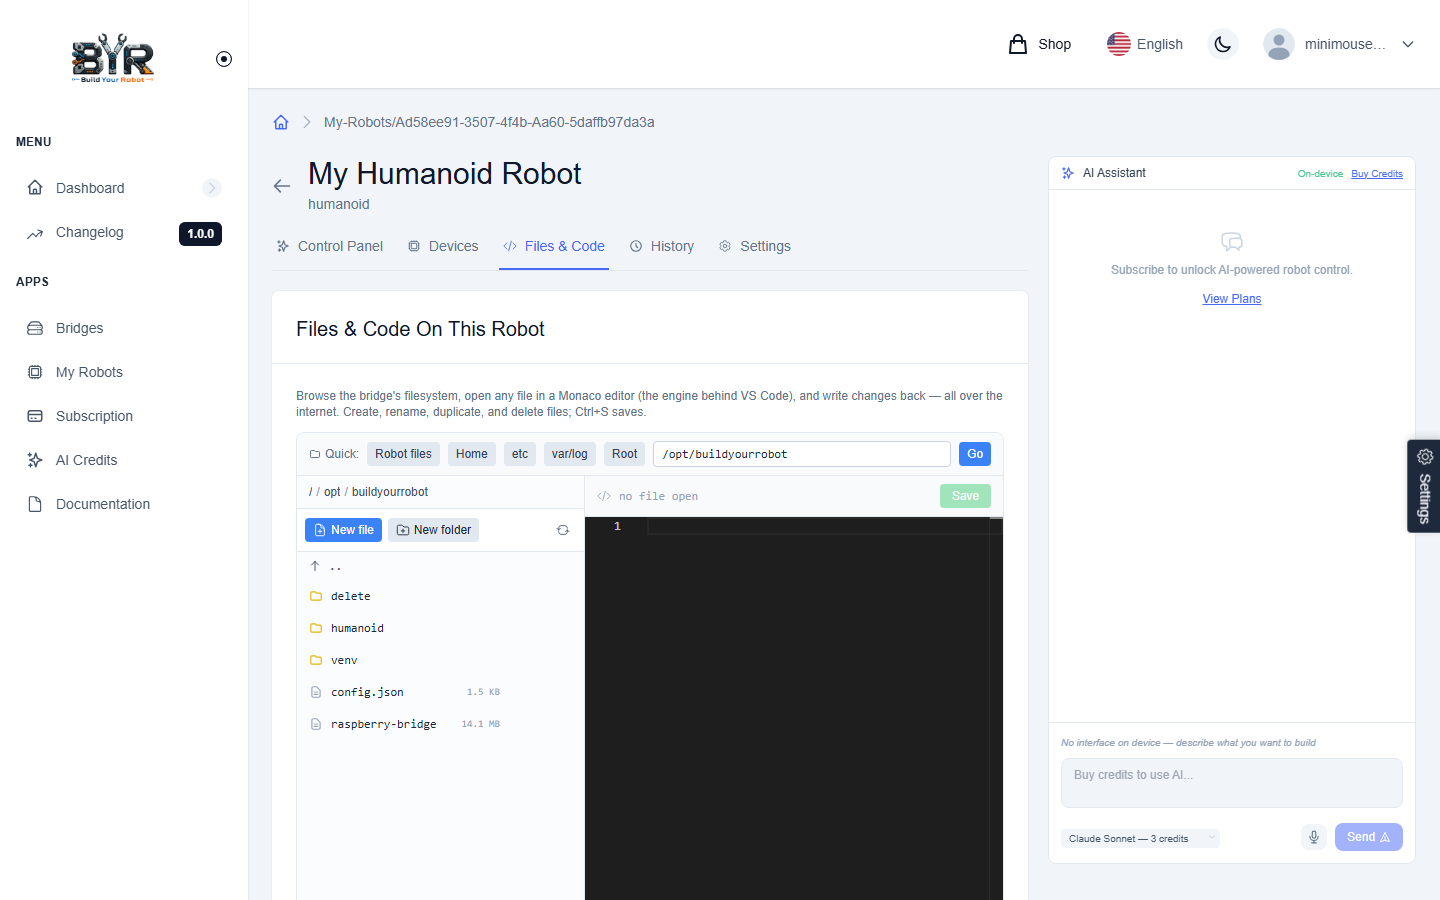
- Browse the whole OS — quick shortcuts to Home, Workspace, Root, etc, var/log, plus a path bar for anywhere else.Recorre todo el SO — accesos rápidos a Home, Workspace, Root, etc, var/log, y una barra de ruta para llegar a cualquier sitio.
- Open, edit, save — click a file to load it into Monaco.
Ctrl+Swrites back to the robot.Abrir, editar, guardar — toca un archivo para cargarlo en Monaco.Ctrl+Sescribe en el robot. - Create & delete — new file, new folder, and per-row delete with a confirm guard.Crear y borrar — archivo nuevo, carpeta nueva, y borrado por fila con confirmación.
- Syntax highlighting — JavaScript, TypeScript, Python, Go, Rust, C/C++, Java, Shell, PowerShell, JSON, YAML, TOML, INI, Markdown, HTML, CSS, XML, SQL, Dockerfile — auto-picked from the file extension.Resaltado de sintaxis — JavaScript, TypeScript, Python, Go, Rust, C/C++, Java, Shell, PowerShell, JSON, YAML, TOML, INI, Markdown, HTML, CSS, XML, SQL, Dockerfile — detectado por extensión.
Heads up: this is real, live adminAviso: esto es admin en vivo, real
The Files tab edits the actual filesystem on the bridge. Treat it like SSH: changes to /etc, systemd units, or scripts under /opt/buildyourrobot/ take effect immediately on save. Read limits: 100 KB per file, 500 KB per write — large logs and binaries are intentionally out of scope.
La pestaña Archivos edita el sistema de archivos real del bridge. Trátalo como SSH: los cambios en /etc, unidades de systemd o scripts bajo /opt/buildyourrobot/ tienen efecto inmediato al guardar. Límites de lectura: 100 KB por archivo, 500 KB por escritura — los logs grandes y binarios quedan fuera de alcance a propósito.
Talker robotsRobots con voz
If your robot is a humanoid talker (mic + speaker + round display face), it has a dedicated voice interface: a big Talk button, animated face responses, and a conversation pipeline that uses Whisper for speech-to-text and Piper for text-to-speech. Si tu robot es un humanoide con voz (micro + altavoz + cara redonda), tiene una interfaz de voz dedicada: un gran botón Talk, respuestas animadas en la cara y una pipeline de conversación que usa Whisper para voz a texto y Piper para texto a voz.
Tapping TalkPulsar Talk
From the robot's detail page, press and hold the Talk button (or tap it to toggle in single-press mode). The face turns into the listening animation, then thinking, then the talking animation plays as the response comes back through the speaker. Round-trip latency on a Pi Zero 2 W is typically 1.5–3 seconds. Desde la página del robot, mantén pulsado el botón Talk (o tócalo en modo single-press para alternar). La cara cambia a la animación de escuchando, luego pensando, y la animación de habla se reproduce mientras llega la respuesta por el altavoz. La latencia ida-vuelta en una Pi Zero 2 W es típicamente de 1.5 a 3 segundos.
What it can do todayLo que hace hoy
- Free-form conversation (small talk, simple Q&A, light reasoning)Conversación libre (charla, preguntas y respuestas, razonamiento ligero)
- Set timers ("set a timer for five minutes")Temporizadores ("pon un timer de cinco minutos")
- Tell jokesContar chistes
- Give weather (if you configured a location)Decir el clima (si configuraste una ubicación)
- Show different facial expressions in response to contextMostrar distintas expresiones según el contexto
Today's limitsLímites actuales
- Wake-word activation — not yet; v1 is tap-to-talk. A wake-word is on the roadmap.Activación por palabra clave — todavía no; la v1 es pulsa-para-hablar. La palabra clave está en la hoja de ruta.
- Mid-response interrupt — once the robot starts talking, you wait for it to finish.Interrumpir a mitad de respuesta — cuando el robot empieza a hablar, espera a que termine.
- Multi-language — English-only voice model for now.Multilingüe — modelo de voz sólo en inglés por ahora.
Mobile appApp móvil
The mobile app is the same account as the dashboard, with a phone-first focus. It's especially useful for the BLE-provisioning flow — you need a Bluetooth-capable device near the robot for that — and for quick control on the go. La app móvil usa la misma cuenta que el panel, enfocada al teléfono. Es especialmente útil para el flujo de aprovisionamiento BLE — necesitas un dispositivo con Bluetooth cerca del robot — y para control rápido sobre la marcha.
Install & sign inInstalar e iniciar sesión
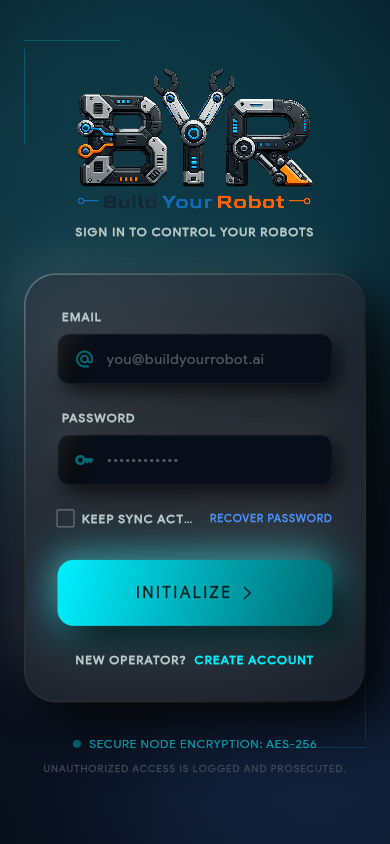
Available for iOS and Android. Install from the relevant store (or your build APK if you're testing pre-release), open it, sign in with your dashboard account. Disponible para iOS y Android. Instálala desde la tienda correspondiente (o desde tu APK de prueba si vas pre-release), ábrela e inicia sesión con la cuenta del panel.
The three tabsLas tres pestañas
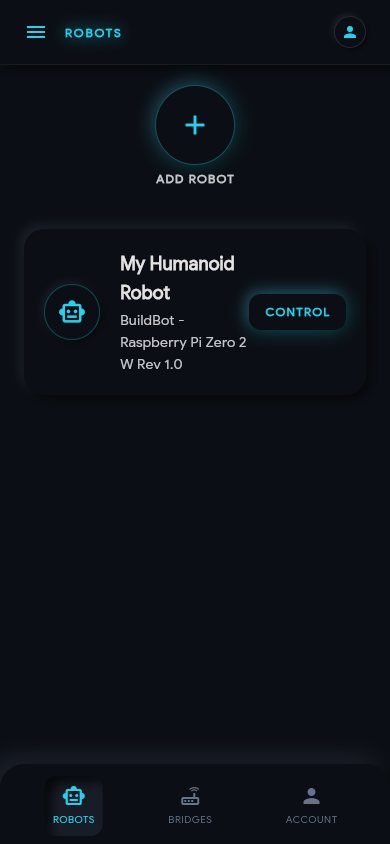
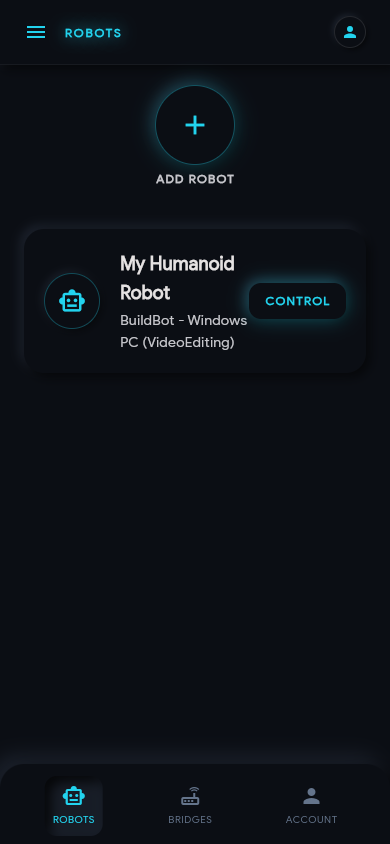
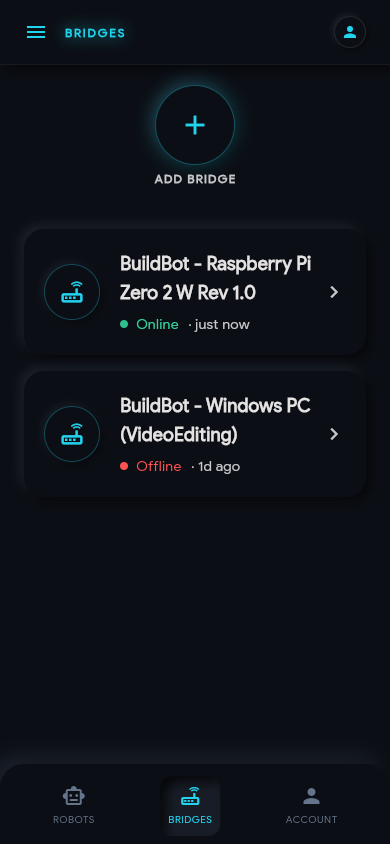
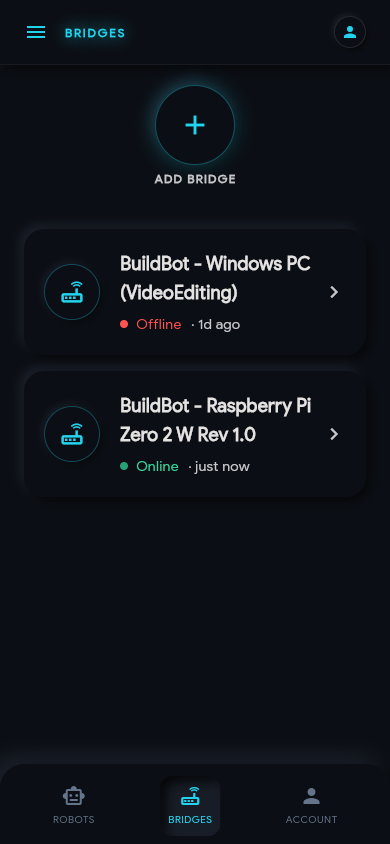
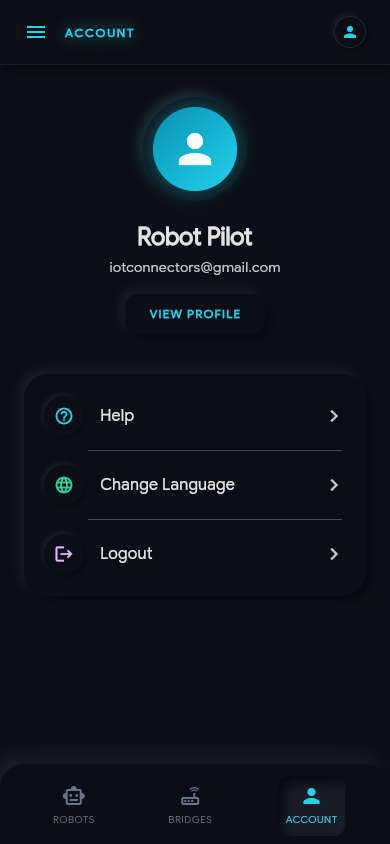
After sign-in the app shows a bottom-tab nav with Robots, Bridges and Account. Robots is the default landing screen — you can drive a robot directly from the list, or jump to Bridges to manage the Pis behind them. Tras iniciar sesión la app muestra una barra inferior con tres pestañas: Robots, Bridges y Cuenta. Robots es la pantalla por defecto — puedes controlar un robot desde la lista o saltar a Bridges para gestionar las Pi que hay detrás.
Bridge detail — Bluetooth always onDetalle del bridge — Bluetooth siempre activo
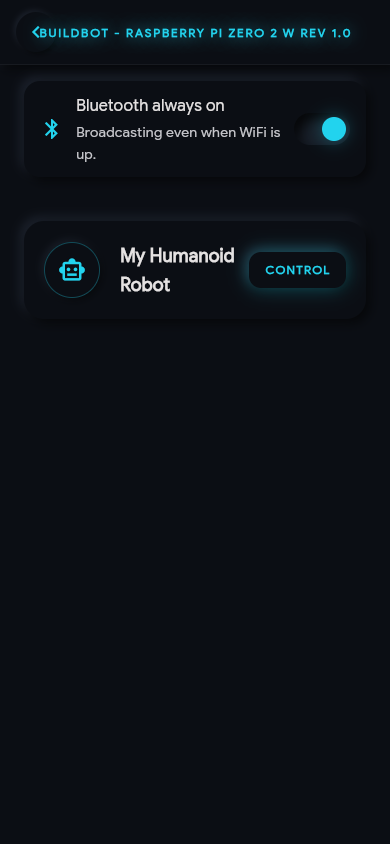
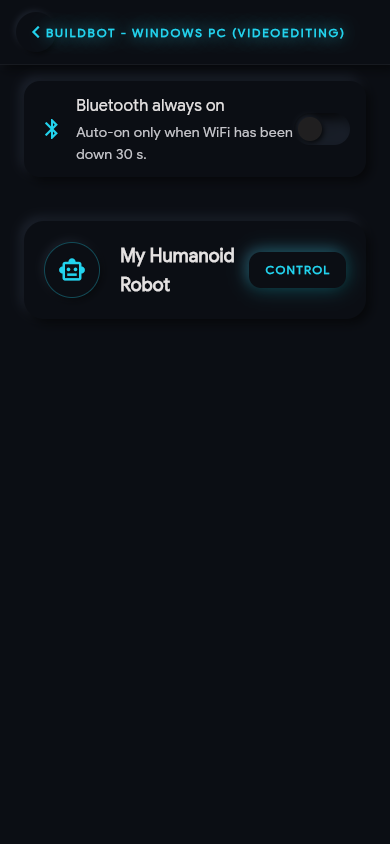
Tap any bridge in the list to open its detail page. The Bluetooth always on toggle keeps the bridge advertising BLE even when WiFi is up — handy if you ever need to reconfigure WiFi from your phone without an SD trip. Toca cualquier bridge de la lista para abrir su detalle. El conmutador Bluetooth siempre activo mantiene el bridge anunciando BLE incluso con WiFi activa — útil si necesitas reconfigurar el WiFi desde el teléfono sin tocar la SD.
BLE provisioning flowFlujo de aprovisionamiento BLE
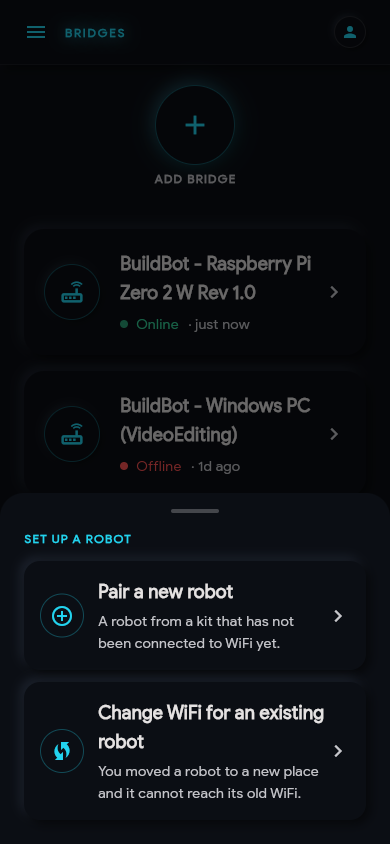
From the Bridges tab tap + Add Bridge and pick one of two flows: Pair a new robot (the kit ships pre-flashed and advertises) or Change WiFi for an existing robot (the robot already exists but moved networks). Both flows show the same scanner — your phone lists nearby BYR-XXXXXX peripherals; tap one to connect.
Desde la pestaña Bridges toca + Añadir Bridge y elige uno de dos flujos: Emparejar un robot nuevo (el kit viene preflasheado y se anuncia) o Cambiar WiFi de un robot existente (el robot ya existe pero cambió de red). Ambos flujos muestran el mismo escáner — tu teléfono lista los periféricos BYR-XXXXXX cercanos; toca uno para conectar.
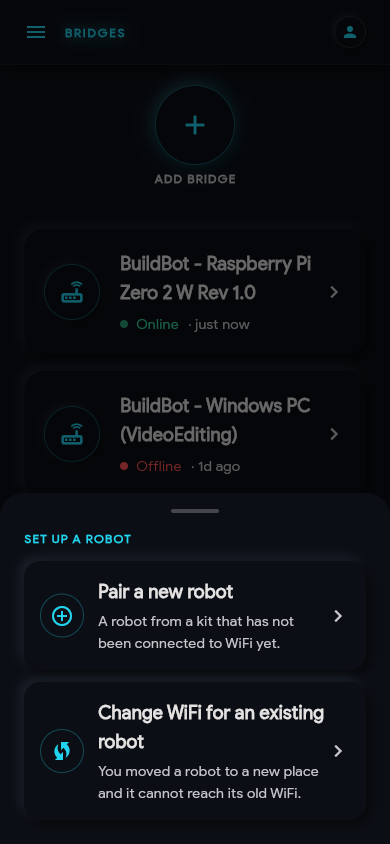
After connecting, the bridge shows you its device info (serial, board model, firmware version) and lists nearby WiFi networks it can see. Pick an SSID, type the password, hit Apply WiFi. The Pi reboots into the new network and shows up as Online in your bridges list within a minute. Tras conectar, el bridge muestra su info de dispositivo (número de serie, modelo de placa, versión de firmware) y lista las redes WiFi que ve cerca. Elige un SSID, escribe la contraseña y pulsa Aplicar WiFi. La Pi se reinicia en la nueva red y aparece como Online en tu lista en menos de un minuto.
Bluetooth permissions on Android 12+Permisos de Bluetooth en Android 12+
On modern Android the app asks for runtime BLUETOOTH_SCAN / BLUETOOTH_CONNECT permission the first time you open the scanner. If you deny it, the app falls back to no-scan and you'll need to grant it from system Settings. iOS prompts via the OS dialog. En Android moderno la app pide permisos en tiempo de ejecución (BLUETOOTH_SCAN / BLUETOOTH_CONNECT) la primera vez que abres el escáner. Si los niegas, el escáner queda inactivo y tendrás que concederlos desde Ajustes. iOS lo pide con su diálogo del sistema.
AccountCuenta
Profile info, password changes, deletion, and support live under the Account menu in the top-right corner. Same account works on both the dashboard and the mobile app — change your password in one and it applies to both. Información de perfil, cambios de contraseña, eliminación y soporte viven bajo el menú Cuenta arriba a la derecha. La misma cuenta funciona en panel y móvil — cambias la contraseña en uno y aplica en ambos.
ProfilePerfil
Display name, avatar, email. The display name is what shows up if you ever share a robot with another account. Nombre visible, avatar, correo. El nombre visible es lo que aparece si alguna vez compartes un robot con otra cuenta.
Delete accountEliminar cuenta
Account → Delete account permanently removes your data — robots, bridges, conversation history, account record. Bridges that were paired with the account immediately lose their credentials and disconnect; their disk contents are not touched. This is irreversible. Cuenta → Eliminar cuenta borra permanentemente tus datos — robots, bridges, historial de conversaciones, registro de cuenta. Los bridges que estaban emparejados pierden inmediatamente sus credenciales y se desconectan; el contenido del disco no se toca. Es irreversible.
SupportSoporte
Email [email protected] or open a thread from Robots → your robot → Support — that route attaches the bridge logs automatically so we can see what the device sees. Escribe a [email protected] o abre un hilo desde Robots → tu robot → Soporte — esa ruta adjunta los logs del bridge automáticamente para que veamos lo mismo que el dispositivo.